wrapped
that’s a wrap on the Danish cord project – wove the second frame Monday evening and handing them off tomorrow
i’m pretty happy of myself with this one
taking process photos and notes has been an invaluable part of my process, and i’m all the more encouraged to keep experimenting and developing my practice
taking my time through each step was important, too
the pace and planning of the first round helped ensure a smoother trip through the second
and at this point, i’ve decided pulling the cord from the center of the spool was not the way to go… d’oh!
frame one
frame two
nice nice…
wefts
job box
serendipitous curbside find now holding cording supplies
wove the first Danish cord frame last Tuesday – feeling accomplished having that step under my belt now
several tacks secure the start and end of the weaving cord
used most nails twice, and a few just once
45 rows of weaving, in all
onto the second frame – got the tacks in last Thursday, and just got through warping and wrapping the rails Saturday
hot tips and observations from the first go were helpful for the second round of drilling pilot holes, hammering tacks, warping, and wrapping cord
picked up a few more since
HOT TIPS:
pack rows of weaving as you go (like Jim said), otherwise you may run out of nails…
don’t pull weft cord too tightly – there should be a little slack in the cord while weaving
don’t work frustrated – take mental and physical breaks whenever necessary
that last bit is somewhat of a universal revelation: don’t work angry – that’s when mistakes happen
learning scheduling and time management on this project
practicing setting reasonable goals and expectations, and making time for rest
remember:
practice makes progress
ok, bye bye… !
warps
10 pound spool of unlaced Danish cord from The Caning Shop
started uncoiling from the center – may not have been best
diagonal and end cutting pliers
end cutters have worked well to get in close and cut flush to tightly packed cord
light on tools for this portion
aside from the cord and cutters, spring clamps were used frequently to hold the warp/wrap cord in place and in tension while taking breaks – essential
also used a bone folder to gently position the cord evenly across the rails when necessary
warped and wrapped separately – felt that approach allowed a little more flexibility (in the event of any mistakes…)
serpentined the warp cord over/under weft nails to start and finish – those ends will get concealed and held down by the weft cord to come
secured ends of wrap cord with a couple actual tacks: 7/16 inch and 3/8 inch blued steel cut tacks
may not’ve made it to weaving, but i’m pretty happy of myself and how this is turning out
got a solid cording workday in yesterday – about 8 hours or so
majority of that time was spent on the floor warping and wrapping
going to bring the frame to table-height for weaving, next
and please,
REMEMBER TO STRETCH
thank you!
tacky
kept on cording this past Wednesday – got things pretty well set up for weaving.
the Danish “L” nails for warps and wefts – technically not tacks
these are round-about 7/8 inch long with a 1/6 inch shank and 3/8 inch flanged head for holding strands of Danish cord
cordless drill and 1/16 inch drill bit
using tape on the bit to help prevent drilling too far
8oz claw hammer
good general purpose banger – got most of the nails in with this
7oz tack hammer
real handy for the corners
needle nose pliers
essential for holding corner nails in place to hammer without smashing fingers
went through 100 on a single frame – dang
used templates as guide for punching nail locations, drilled pilot holes, then hammered them home.
kept the weft nails staggered and aligned the warp nails down the center of the rail – less fussy, i think.
HOT TIPS:
drill ALL pilot holes before beginning nailing
set nails closest to the inner corner FIRST (in this case the corner weft nails)
set outer corner nails second (corner warp nails, here)
RIP to the first drill bit… oops.
baby steps
notes from a visit to The Caning Shop – several of which may no longer apply… !
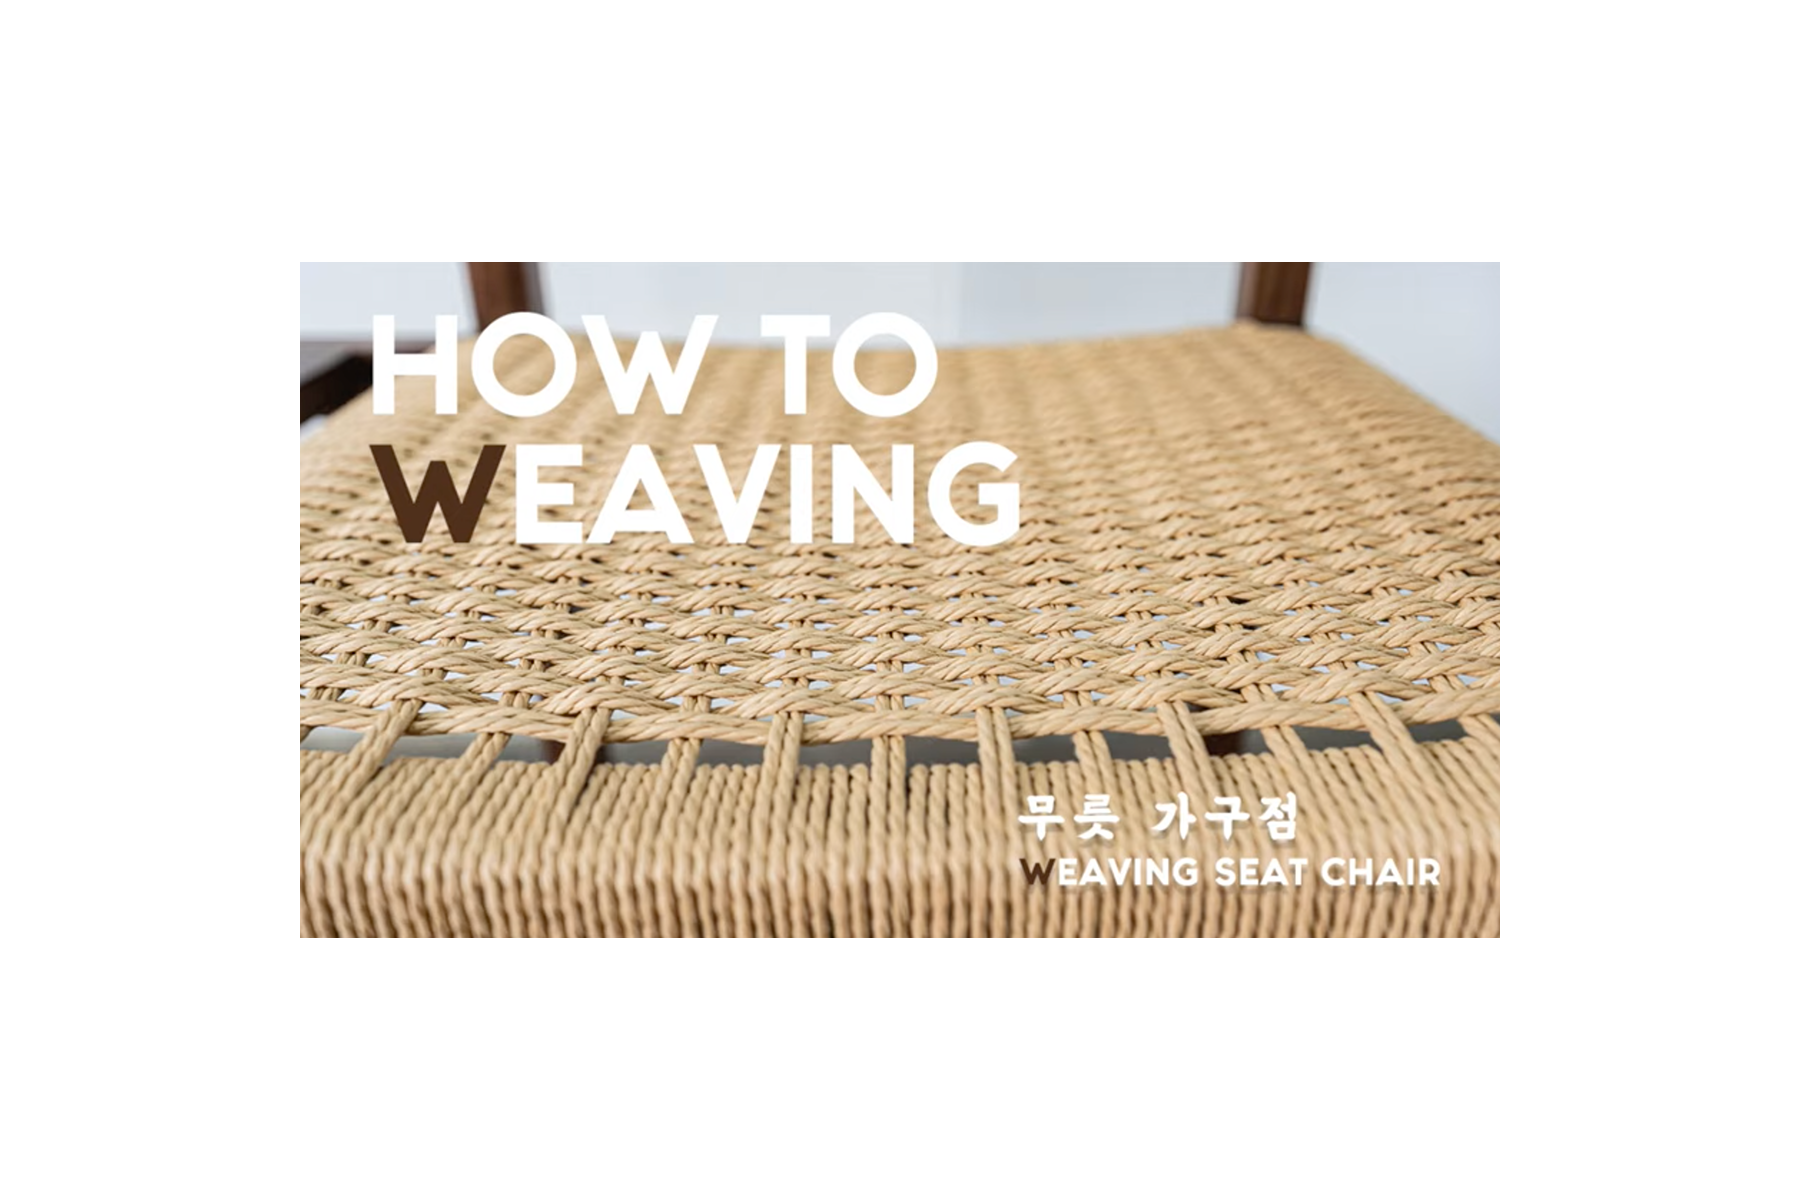
weaving Danish cord on a project for a furniture designer and carpenter friend.
learned a good deal so far about weaving Danish cord, communication, time management, and developing a process.
bookmarking a few reference videos to come back to as i get going on the weaving:
steadily working through this. weaving is in my wheelhouse, woodwork isn’t.
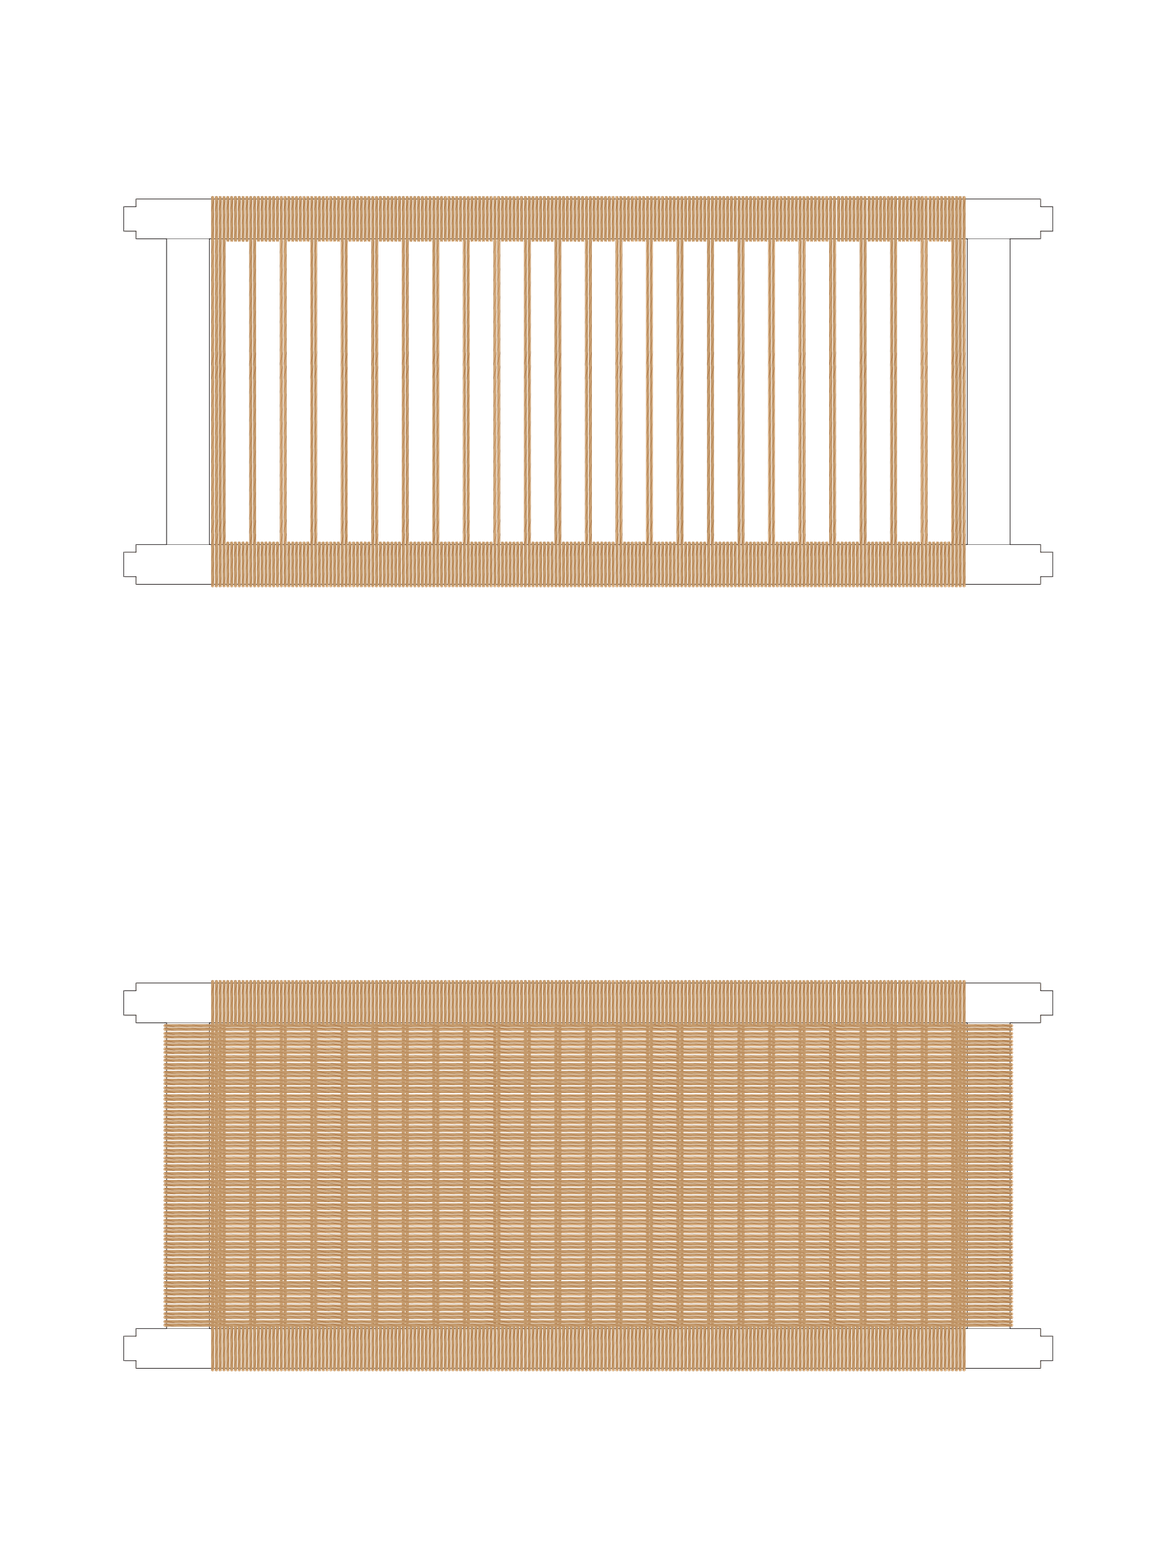
taking baby steps – starting with weaving diagrams and nailing templates.
1 inch warp spacing with typical 1/2 inch weft spacing. most conventional approach resulting in ~ 4 wraps between each warp pair.
1-1/4 inch warp spacing
i like the proportions of this – a bit more frame wrapping between warps (~ 6) and less weaving, seems alright.
1-1/4 inch warp spacing along the frame stiles – kinda neat. may not be the pattern for this, tho.
need to locate and drill pilot holes for the “L” shaped Danish nails to get tacked into.
that’s a measure twice drill once type deal. so imma measure a few times more…
made nail templates indicating 1/2” weft (top/cyan) and 1-1/4” warp (bottom/magenta) spacing. first and last warps are a double pair – hence the 1/2” spaced pair at either end.
staggering the nails to help prevent the wood from splitting – a tip first picked up from The Caning Shop.
nail template taped to the inside face of the rails (warp) and stiles (weft).
seeing the template on the frame i’m thinking the orientation of the weft nails should flip. or – could eliminate the farthest weft and warp nails at the inside corners and tack down to start and finish.
goal for this week is to drill pilots, tack “L” nails, and weave at least one frame.
remember: take time to brainstorm, ask for help*, mock things up, take care of your body, document, and enjoy… !
(*thank you, Sam, for your help and support along the way)
sidenote: reminded of Broken Social Scene’s OG version of “Lover’s Spit” via “… (Redux)” off ‘Bee Hives’ played by Rare Earth on KALX last week.
sparked a trip through ‘Spirit If…’ yesterday, from rooter to tooter – *chef’s kiss*
ok, bye bye… !
slow down
mini warning sign pin process images, clockwise from upper left. started with scrap piece of yellow linen with stabilizer, stiffened black felt, and butterfly clutch pin-back. used silk to embroider a single interior line and border. glued the warning sign top to the felt back concealing pin hardware between and held in place with wonder clips while glue set. once the glue dried, it was on the jacket and out on the town.
little warning sign pin – a reminder to slow down. have had this one in the wings for a little while. taking time to reflect on the spirit of ongoing projects, and remembering that slowing down is ok – another part of the process.
quilted
taped muslin lining to the floor to keep smooth. whip-stitched two smaller pieces of cotton batting together to make up the length needed.
pin basted the quilt sandwich together and captured how impossible it is to keep black fabric lint-free.
used DMC cotton stranded embroidery floss in ecru, separated into 3 strands, with a Tulip big eye straight thin size Sashiko needle. pulled strands over beeswax before quilting to help prevent fraying and breakage.
quilted in free-hand lines widthwise, starting from the center. i can see how my technique was affected over time as my fingertips became more tender.
kept the muslin lining and cotton batting long at the short edges. trimmed the batting to remove bulk and folded the muslin over to create a binding, blind stitching to the twill to finish. the light table fits snuggly in the cover, so i kept the closure simple using brass sew-on snaps to secure when stowed away.
trimmed excess muslin and batting to meet the long edge of the twill and finished raw sandwich edges with blanket stitch using 3 strands of DMC ecru embroidery floss – no beeswax this time. learned how to cleanly transition threads midway through blanket stitch using this tutorial from Upcycle DesignLab.
finished, “front” and “back”
the quilting turned out alright. started with tight tolerances and knotted off by the skin of my teeth. hadn’t expected as much shirring from the quilting process – my dimensions didn’t account for it. and while blanket stitch was considered as an alternative to more traditional finishing methods – bias tape/quilt binding – it turned out to be just the stitch for a narrow seam allowance.
i’m really happy with this.
bonus: little sachet i made yesterday to hold a gift for a friend whose birthday is today (happy birthday!). pleased with this spur of the moment project.


